Capstone Project: Starfall Oasis
The Assignment
For this project, we were tasked with created a project of our choosing to showcase the different skills that we have learned throughout this program. We had to come up with an idea, a grading rubric, and set a timing and action calendar to monitor our progress. There were no restrictions to what we could do, only that we show we have a complete knowledge of all course objectives.These objectives are:
| Demonstrate knowledge of various multimedia software applications and related technology to produce project specific content. |
| Recognize and create effective versus ineffective elements of design. |
| Understand and practice respect for copyright laws and regulations as they pertain to digital creation. |
| Recognize and demonstrate effective critical thinking, and demonstrate effective oral and written communication skills. |
| Demonstrate effective development and execution of creative assignments. |
I decided to create a book that is based on a story that I have been working on. The name of that series is called The Starfall Archives. This is the first entry in the series which focuses on Outpost 37.
The Challenge


For this project we had 10 weeks to come up with an idea, and see it brought to life. This included asset creation, layout, and printing. The book has a great number of visuals and content, so creating everything that went into the book was a time consuming process. In the interest of meeting the deadline, I use AI generative software to create many of the visuals seen in the book. However, this wasn’t simply a prompt and place process, there was a lot of planning and editing that went into creating the final visuals for the book.
The Process
Technique Number One
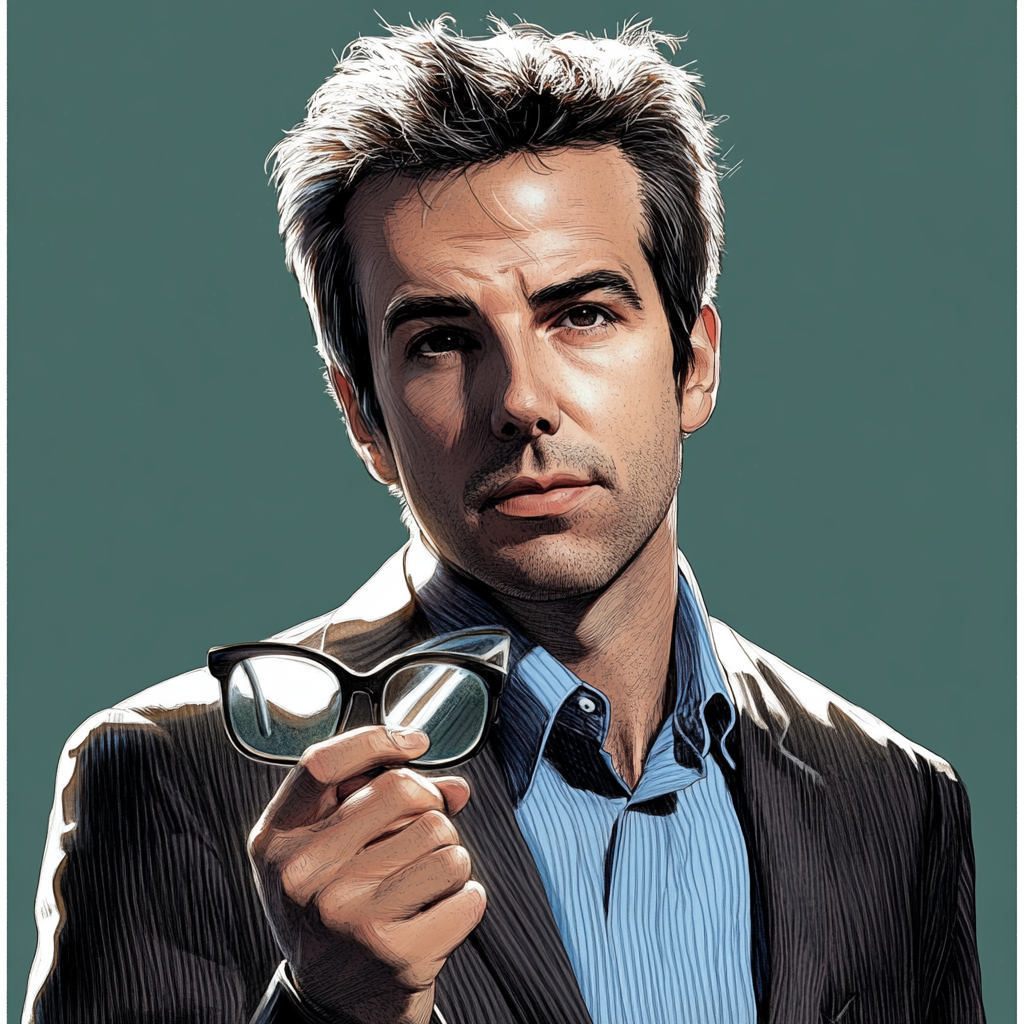

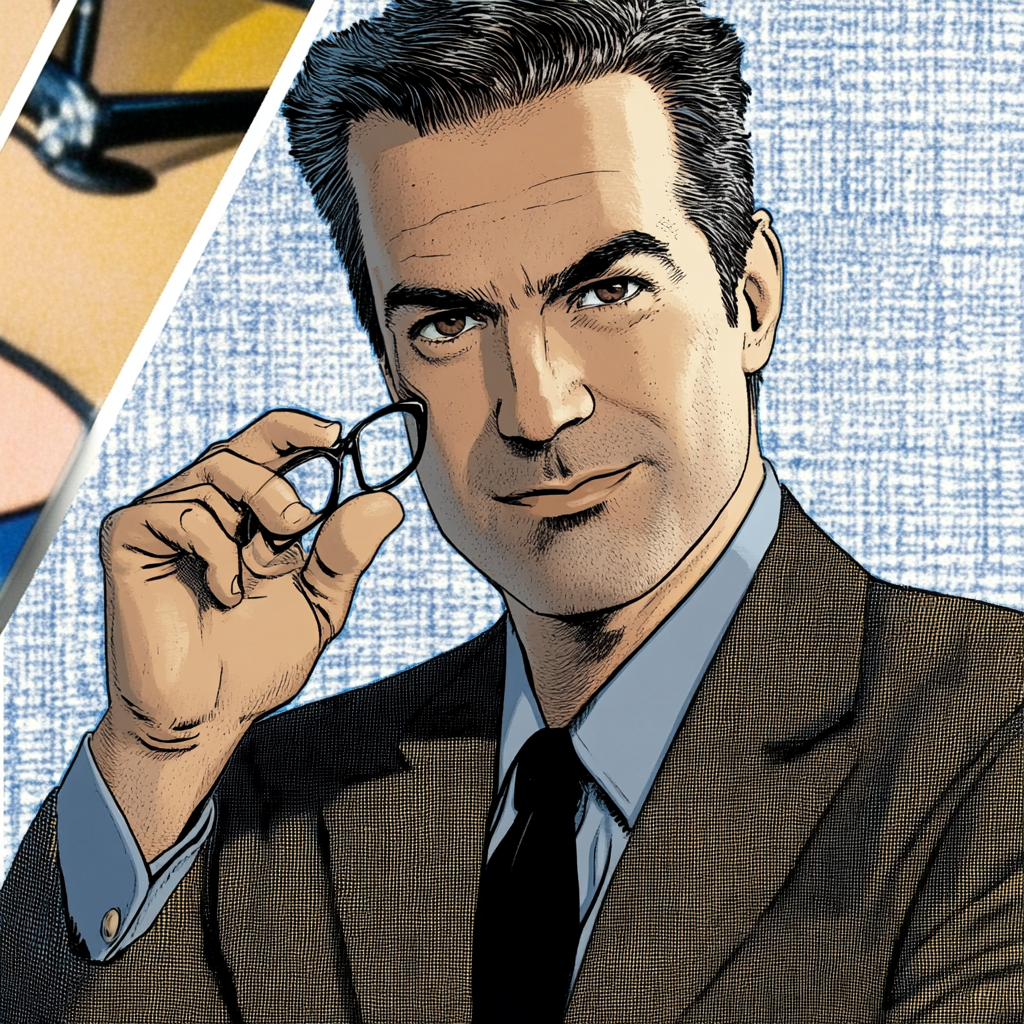


If you have ever tried to use Ai software to get a very specific image, you know that it can be hit or miss. Above is an example of the process that I used to create the assets for Starfall Oasis. On the far left is the original image that I wanted to replicate. I used a prompt and put it into the AI software. The top middle are the results after a first pass. After some refinement of the prompt, I was able to achieve the results in the bottom middle which, as you can see, more closely resemble the original image. After some final tweaking by using style and character references I was able to get an image that is close to the original, and has the “look” I was trying to achieve. I would like to give a special thanks to my instructor for helping to demonstrate this process.
Technique Number Two

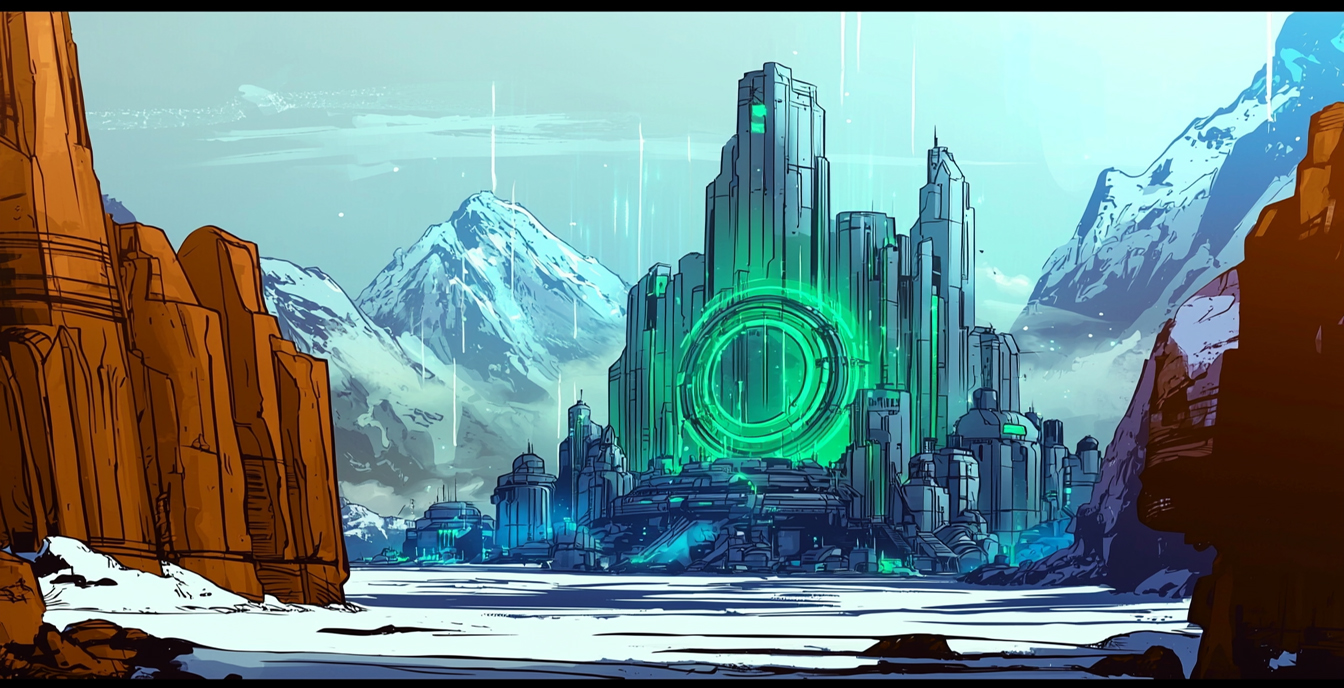
The next method that I used was to create a mockup of what I wanted the scene to look like in either Photoshop or Illustrator. I use a variety of stock assets, and laid them out in roughly the fashion I wanted, and crafted the prompt to try and replicate what I was looking for. I found that by doing this, I gained much more control of the asset produced, and was able to create the visuals I wanted in half the time.
Technique Number Three
Hand Drawn V1


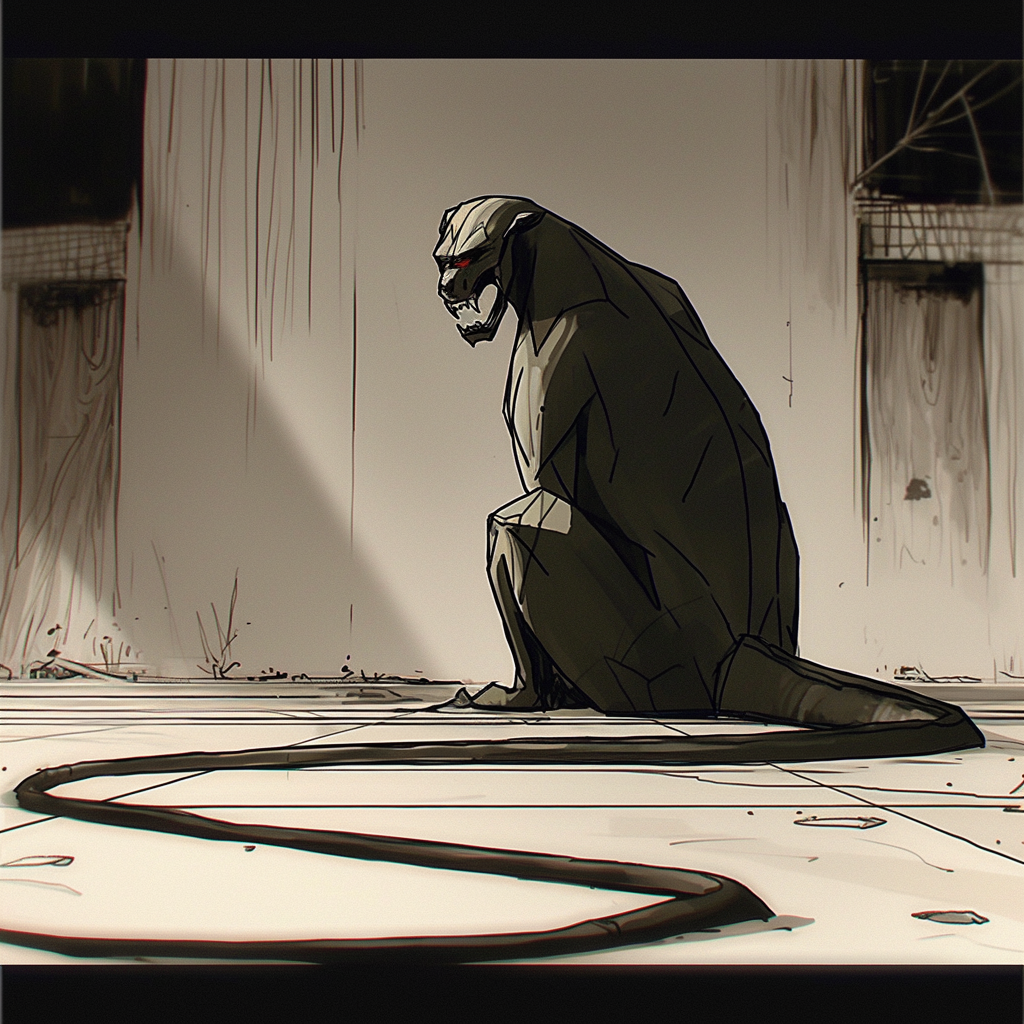

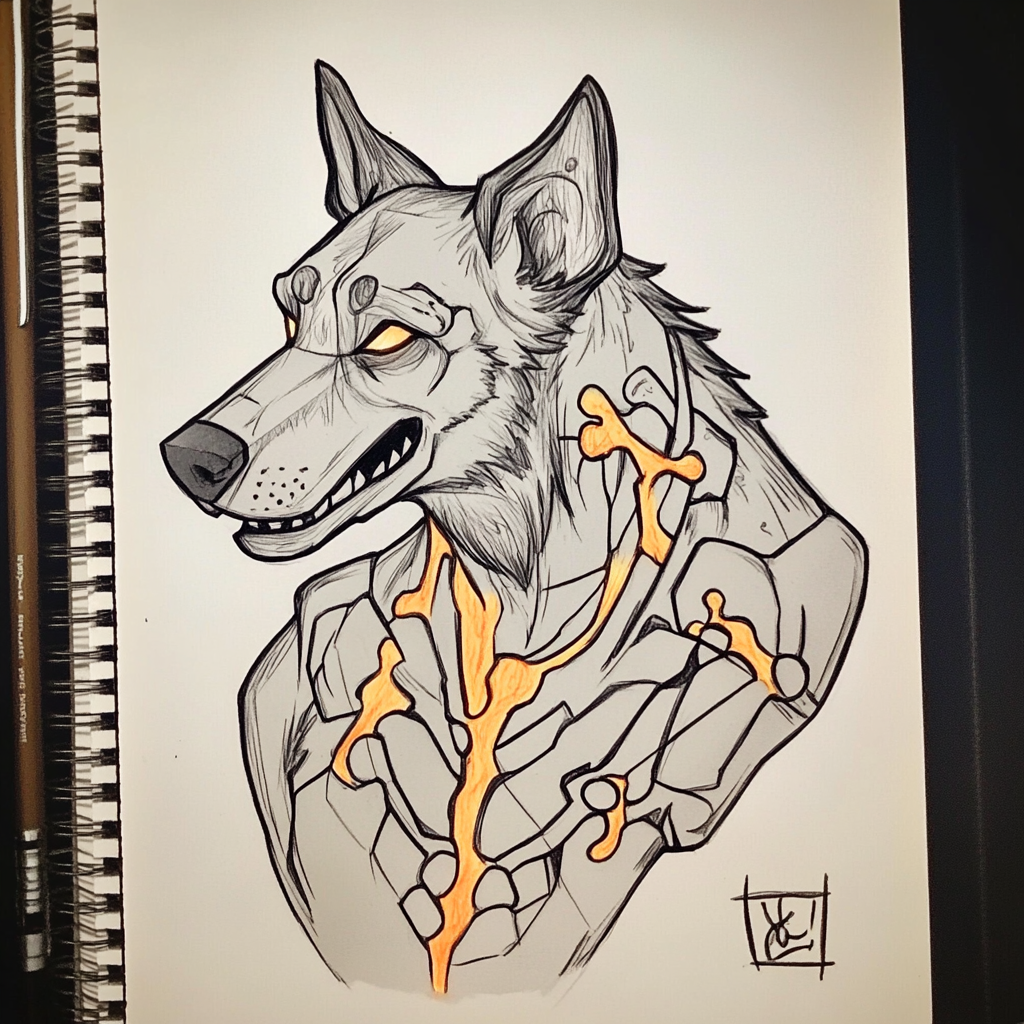

For character I used a drawing of a wolf howling at the moon that I has created. The Image on the left ids the one that I drew. The image in the middle is what the first run though the software gave me. After utilizing the feature which creates variety, and customizing the prompt, I was able to get the image on the right which I then later used as a reference to further refine the character.
Hand Drawn V2


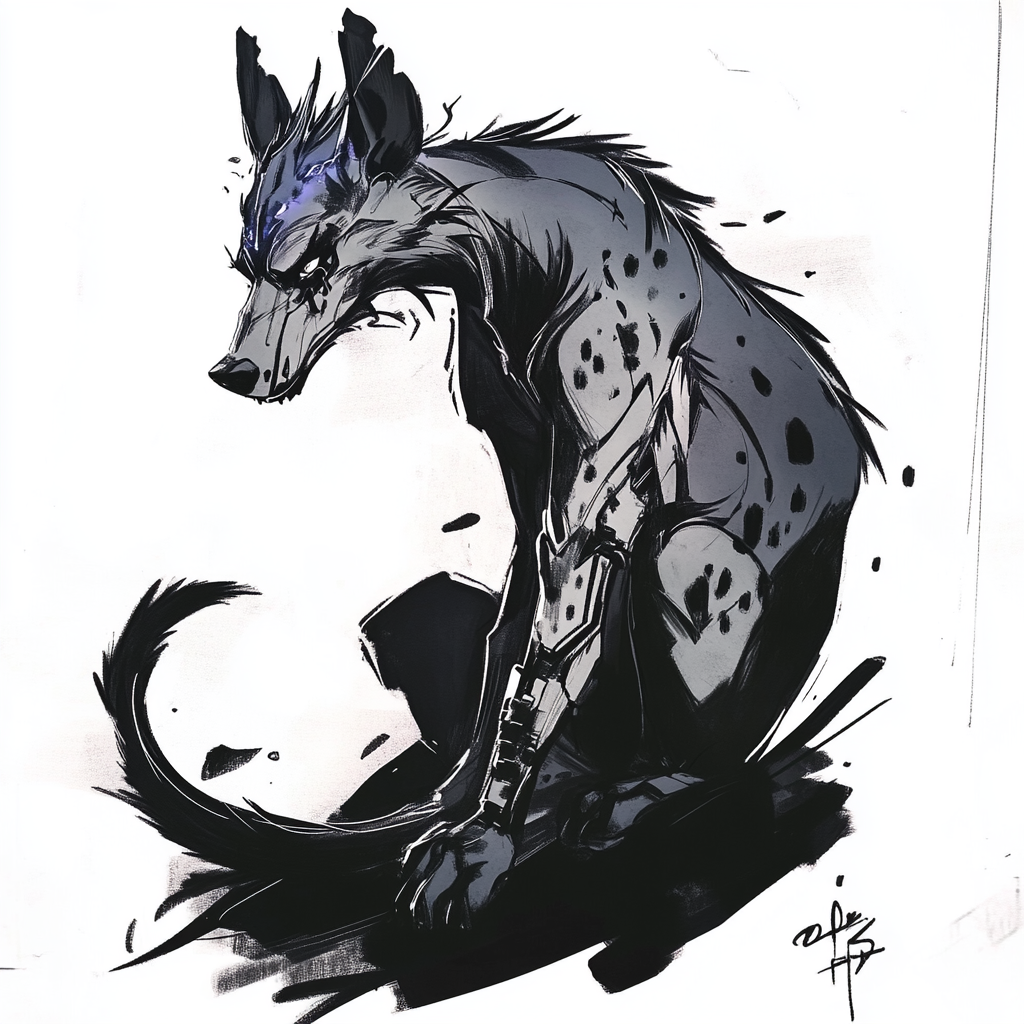

For this character, I repeated the above process, but once I had achieved the character I was looking for, I expanded the prompt and allowed the software to further customized the image. I used the combination of the images on the right in both of the above sections to create and finalize the character concept.
Wire Frame
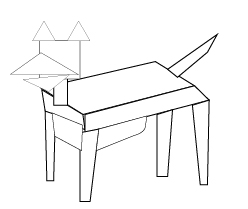

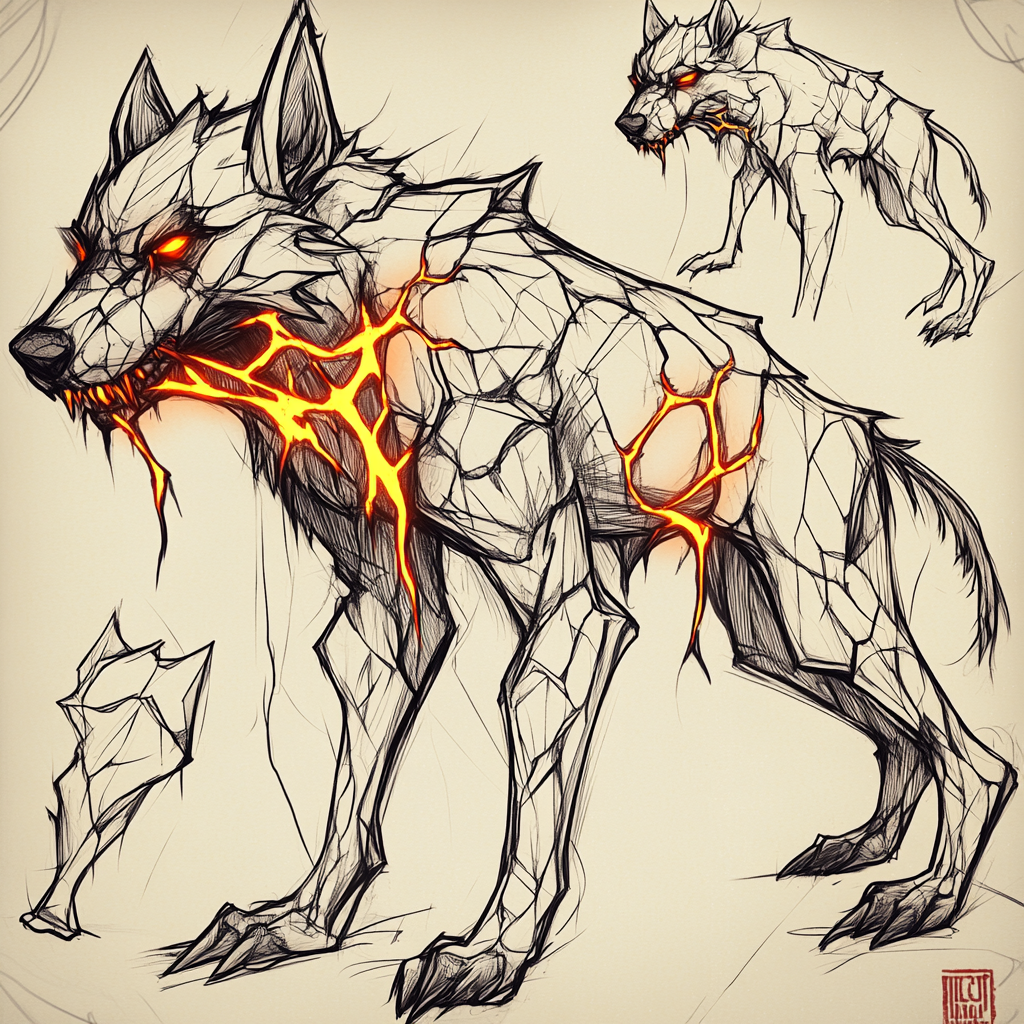

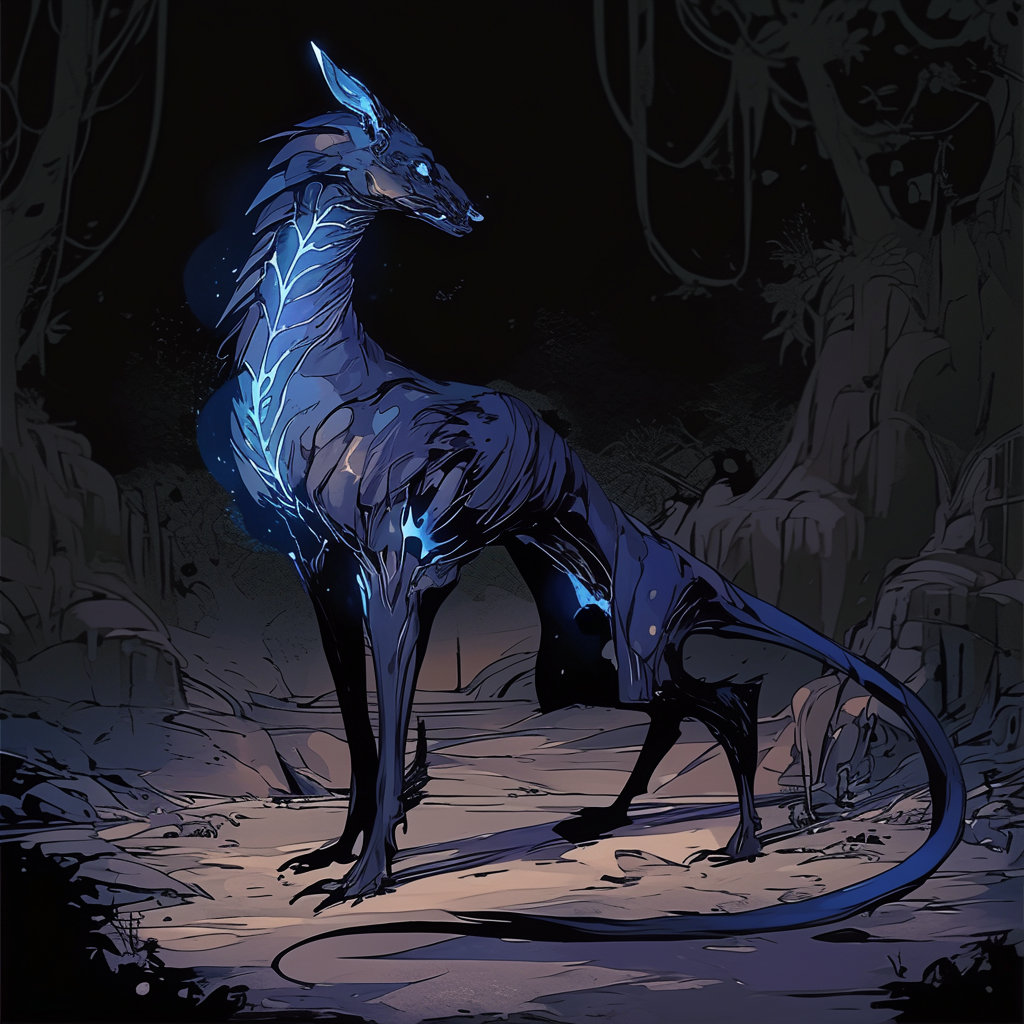

As you can see from some of the above images, I wasn’t getting the position of the creature just right. I had gotten the look I was going for, but it wasn’t right just yet. At this point I used Illustrator to make a wireframe of how I wanted the animal positioned. By using some of the pictures I had created as character and style references, along with the wireframe, I was able to get the image I wanted. I tweaked the prompt slightly to get different variations, and, the result was multiple characters.
Character Manipulation


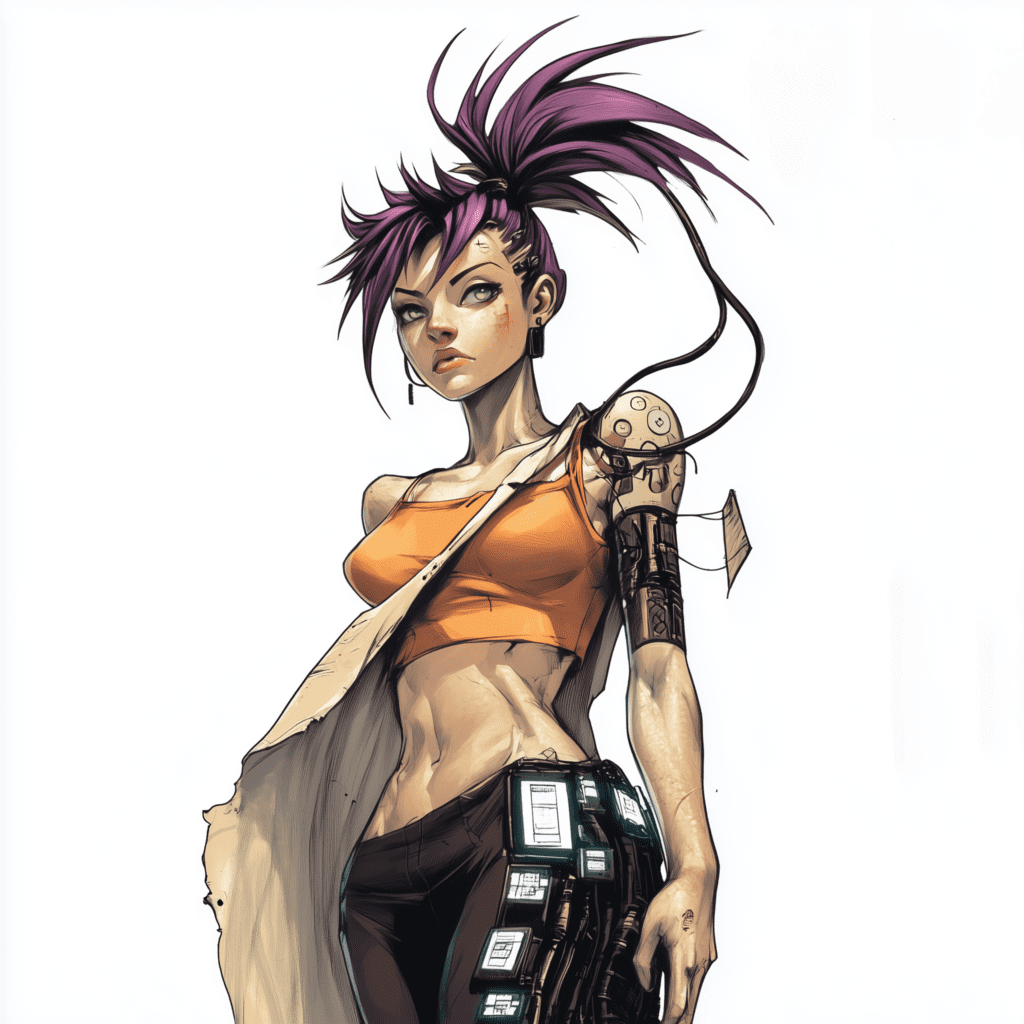

When creating a character one of the most difficult things is getting the software to create what you have in mind. After a very specific and elaborate description of what I was trying to achieve, I still had to use a drawing to get the character I wanted.The drawing on the right combined with the image in the middle became the basis for one of the characters in the story. The image on the right is the character reference I used to obtain consistency when utilizing images of this character.
Achieving Consistency
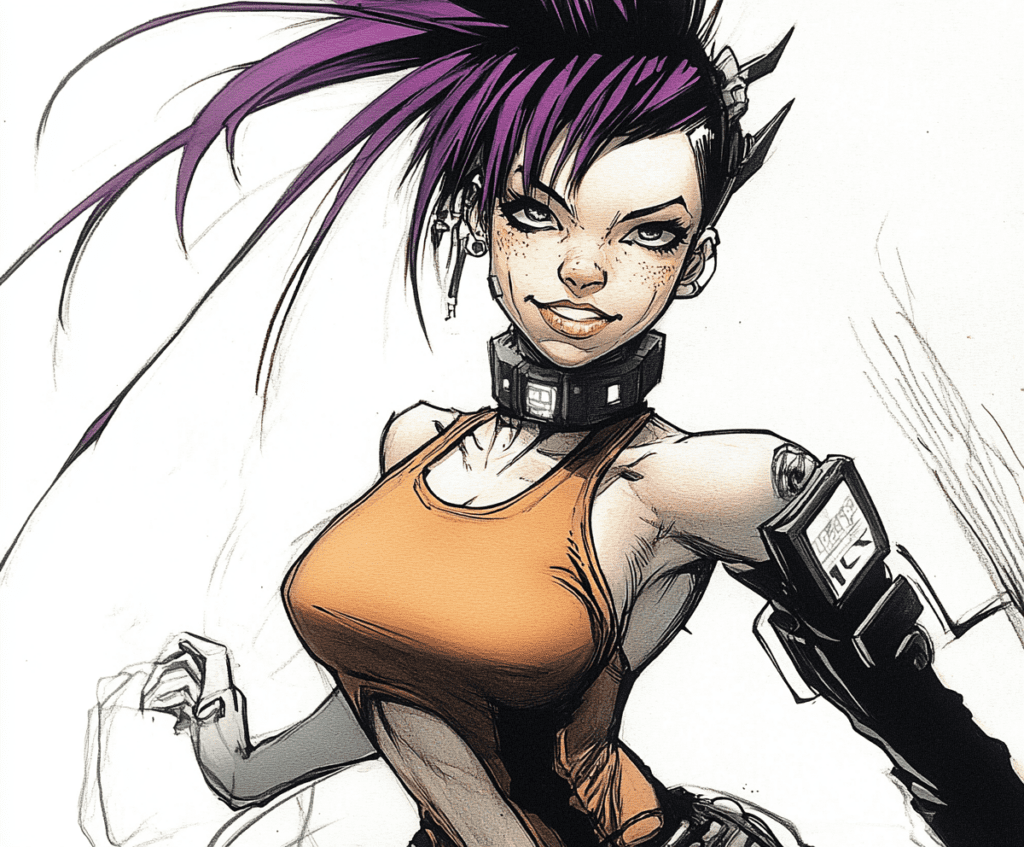

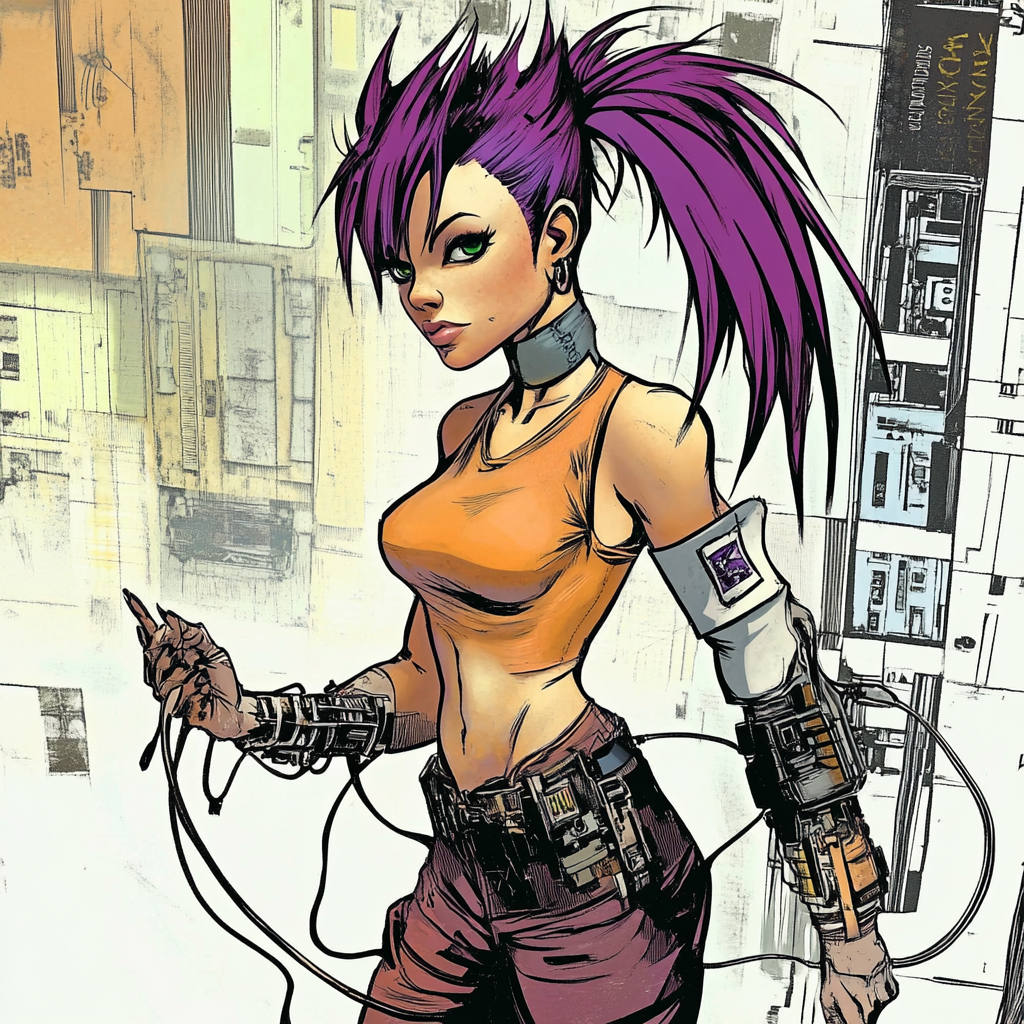

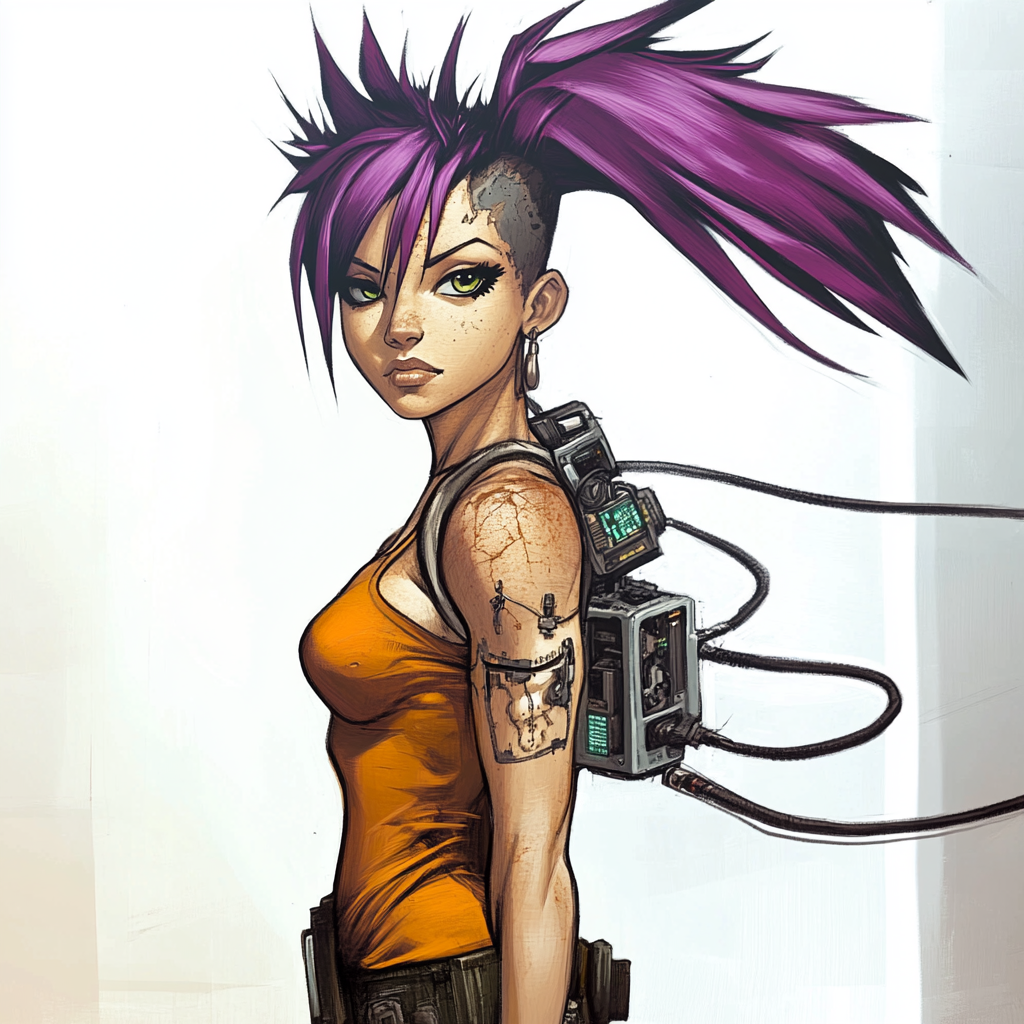

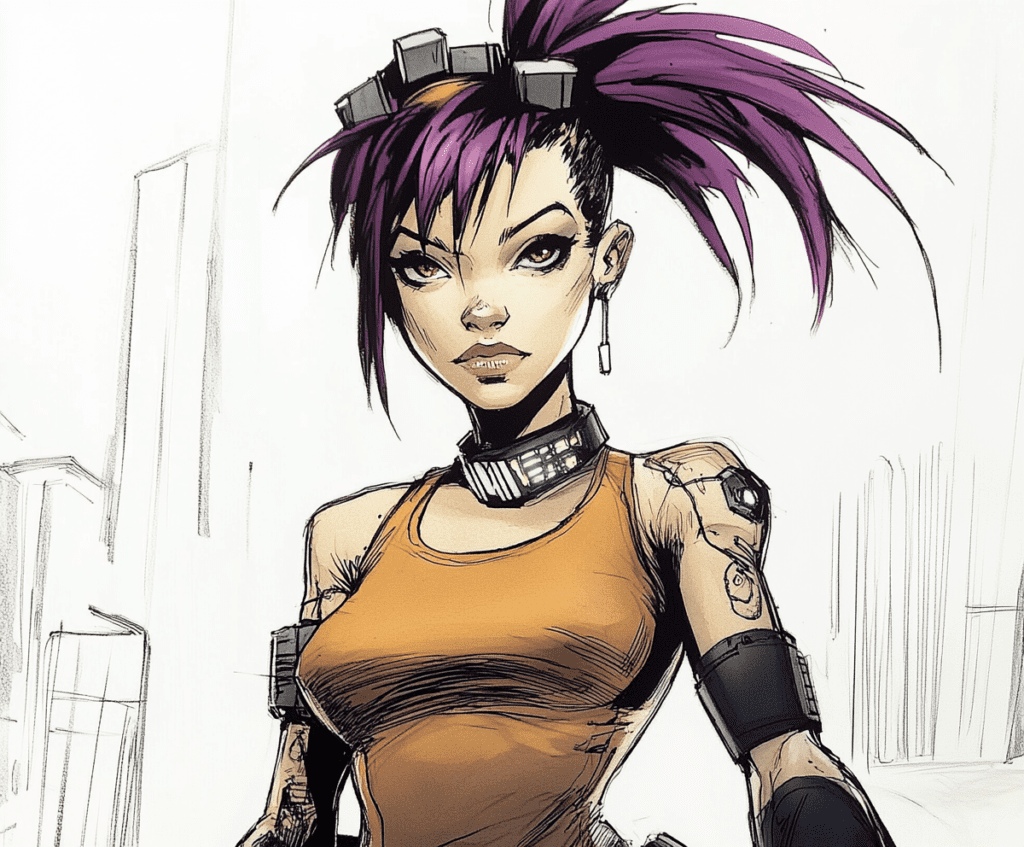

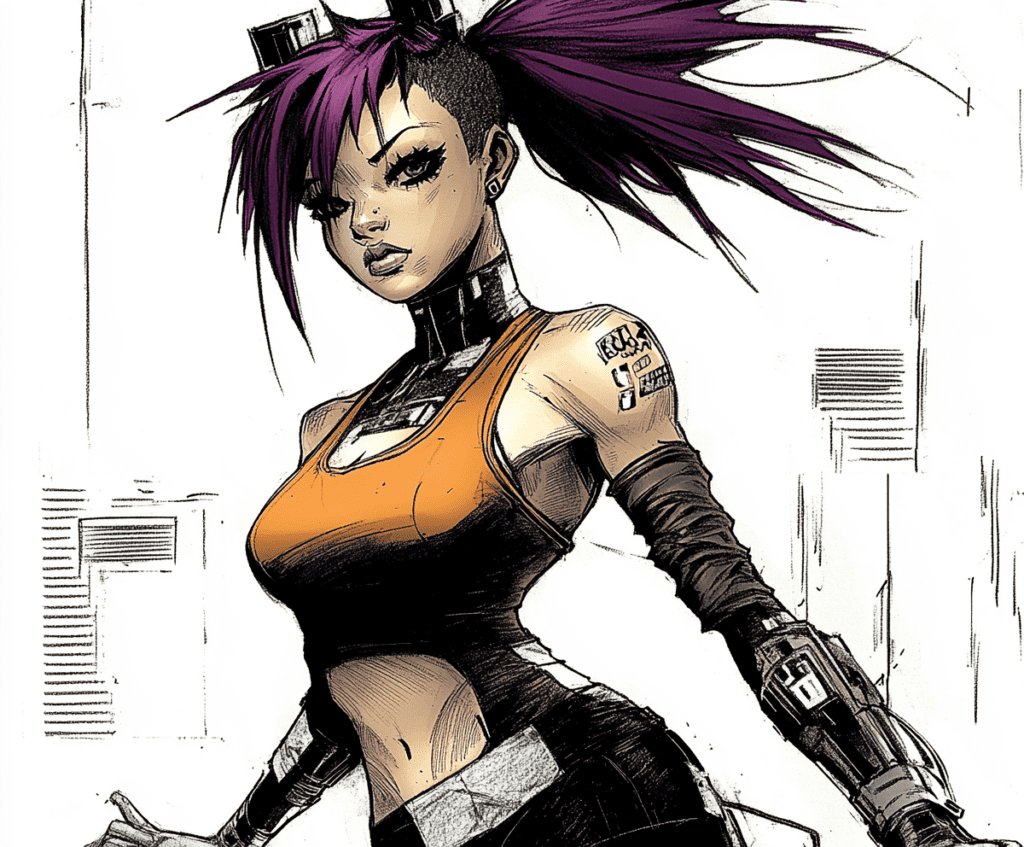


The above images are the result of multiple generations using the finished character as a style and character reference. The images show consistency in the character, and allowed for an me to speed up my workflow.
Putting it All Together


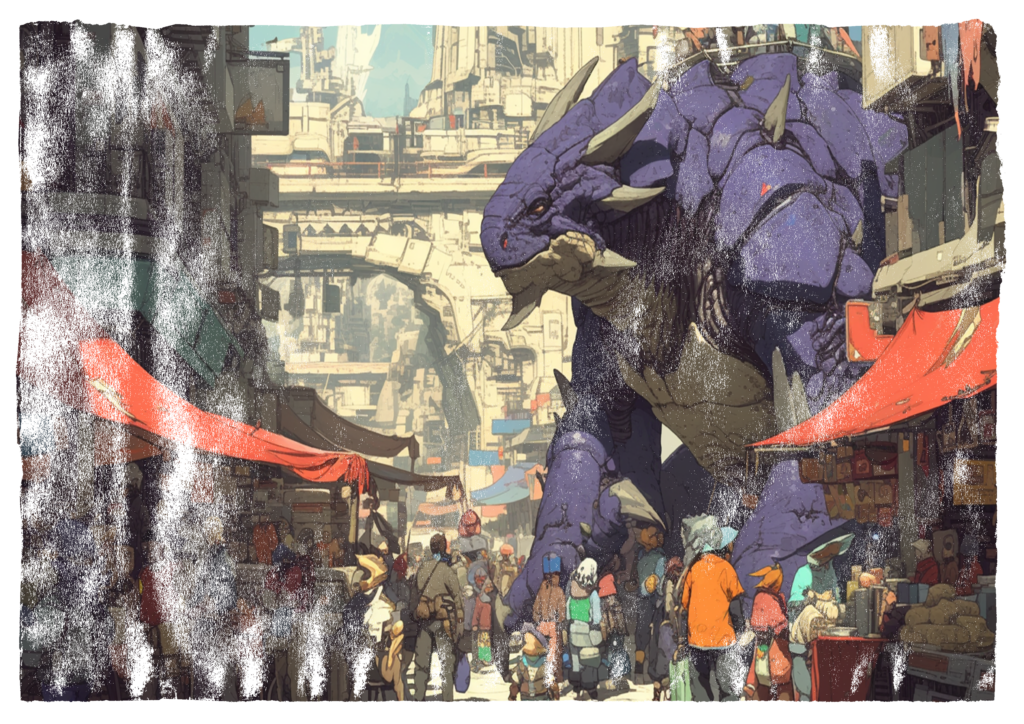

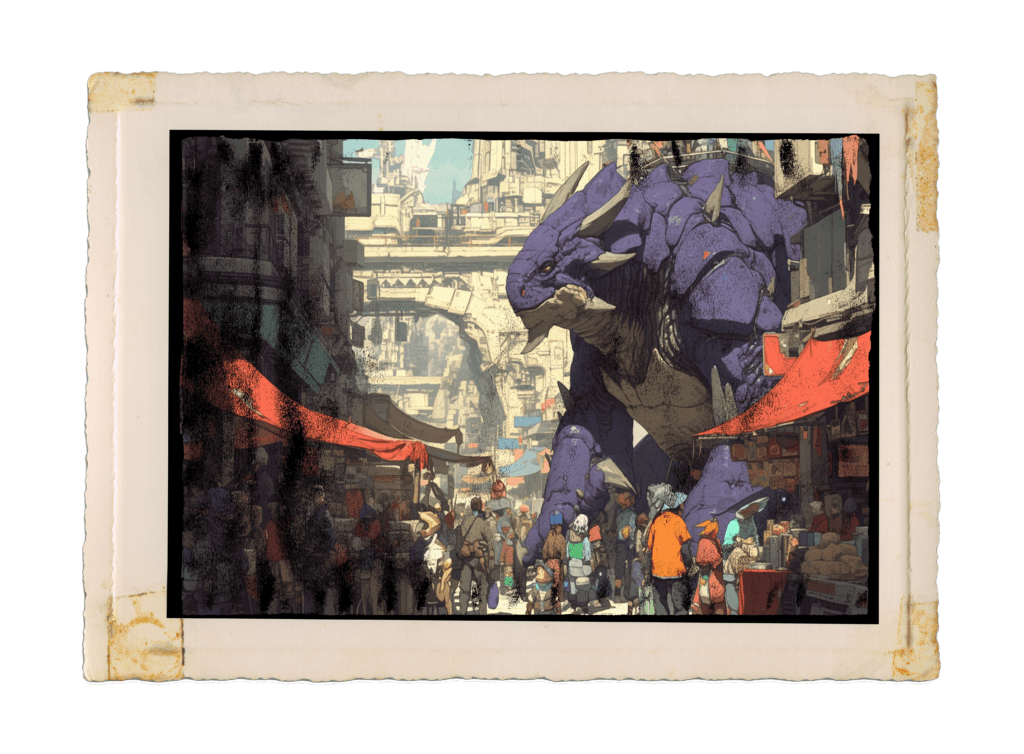

Original
Mask added
Blending mode applied
Once I had all the assets created, it was time to bring them into Photoshop to give them an overhaul for layout in the book. Above is some of the processes I used. I utilized a variety of blending modes, layer masks, and photo manipulation to get the look I wanted.
The Book
For The book itself, I wanted it to look like a case file that would have been kept by one of the characters. I felt that this was an interesting way to progress the storyline. This gives the reader the chance to see whats going on through the eyes of one of the characters, and also get an impression of the events that are taking place in the story. It provides visuals as well as giving the viewer the feel of the environment. I wanted to include enough information to intrigue the reader, but also leave room for speculation and further story development.

