How To Video: Title Sequence

The Idea
For this project we were tasked with creating a how to video, and a 30 second title sequence to introduce it. The topic I chose was how to wire a light switch. I struggled at first to come up with an idea for the intro, but eventually settled on a neon city 80s vibe, and this video definitely has a vibe.
StoryBoarding
As I mentioned before, I has a bit of difficulty coming up with and idea. I was trying to keep it simple, and just have an extended logo reveal of the title of the project while tracing the path of an electrical current around it. Then, in true quirk fashion, I decided to make it a little more interesting. The first idead I came up with was to have blueprints of the upcoming scenes giving the project a construction theme. As the print would come on screen, the electricity would flow around it and produced a finished image.
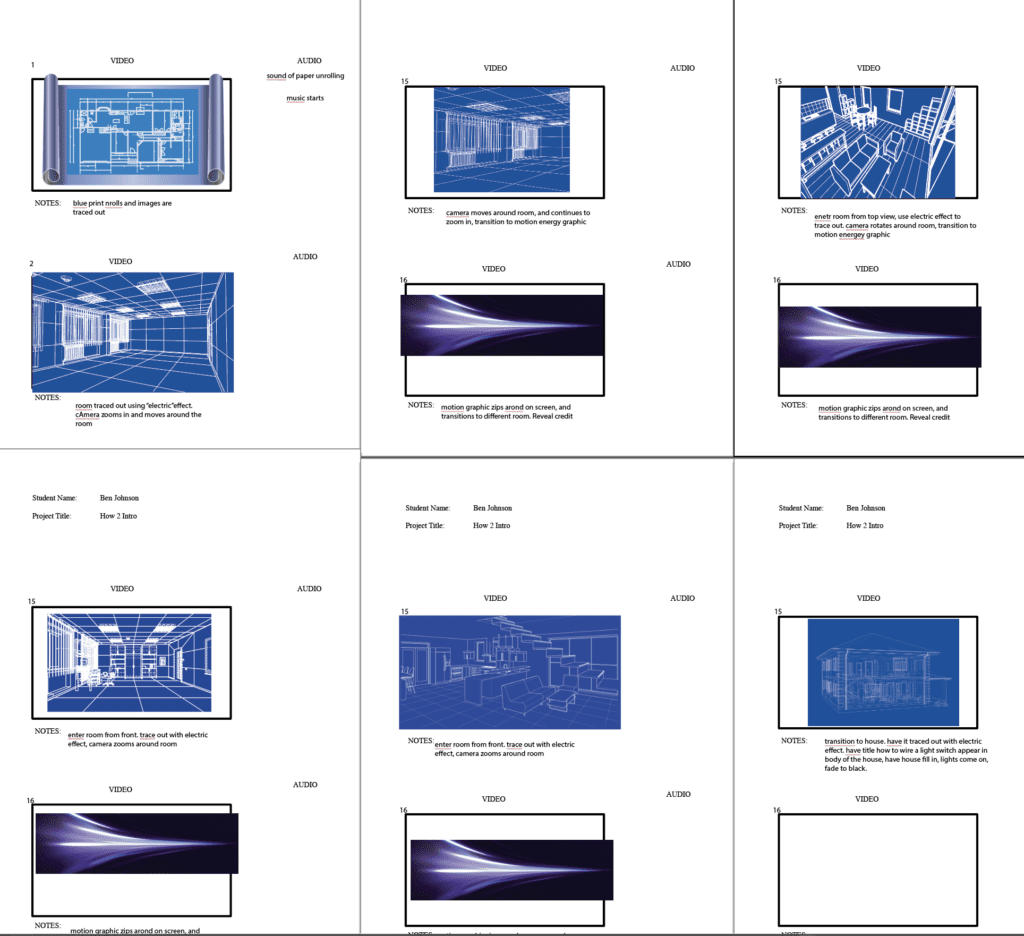

The Idea was to have an electric current transition the viewer around the room and into the next frame. However, as I started working on it, this plan quickly went out the window. I don’t know if it was a song I heard, or something I saw on TV, but I decided “let’s 80s this monkey out”. That is a direct quote by the way. I wanted to keep the electric current theme and decided to use it to reveal the animation credits as the viewr was transitioned around a neon city.
The Journey Begins
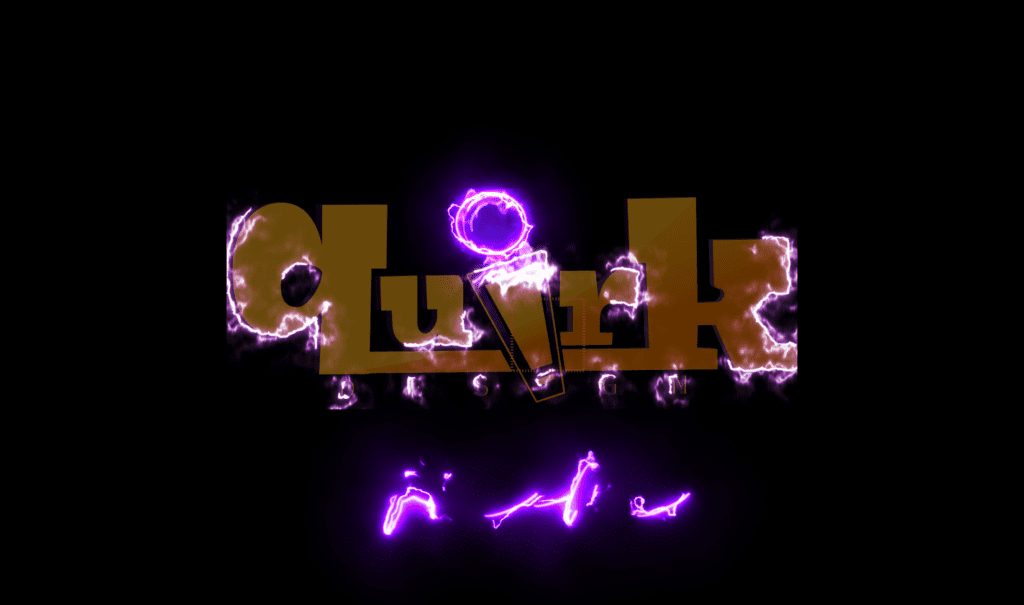

I started off with the logo reveal, and gave it an electric stroke effect just to set the mood for what was coming up.
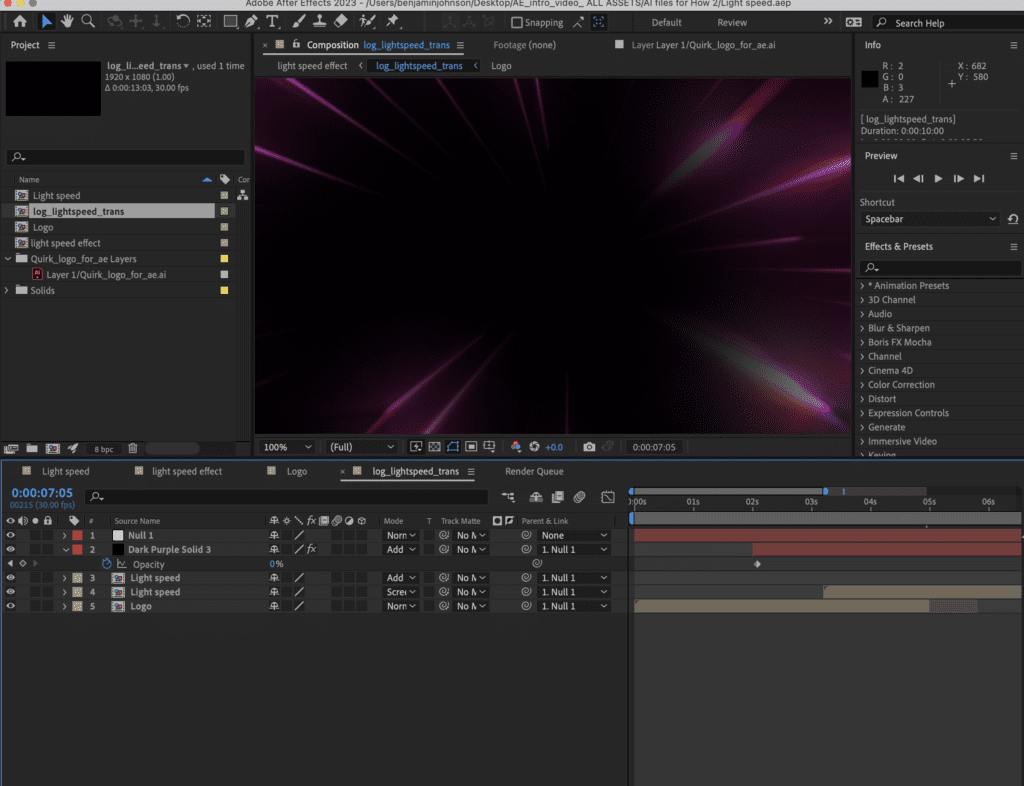

As the logo finishes electrifying, the viewer is transported through the dot of the “i” in quirk, traveling down a tunnel in light speed. This is to produce a sense of movement that I kept throughout the sequence.
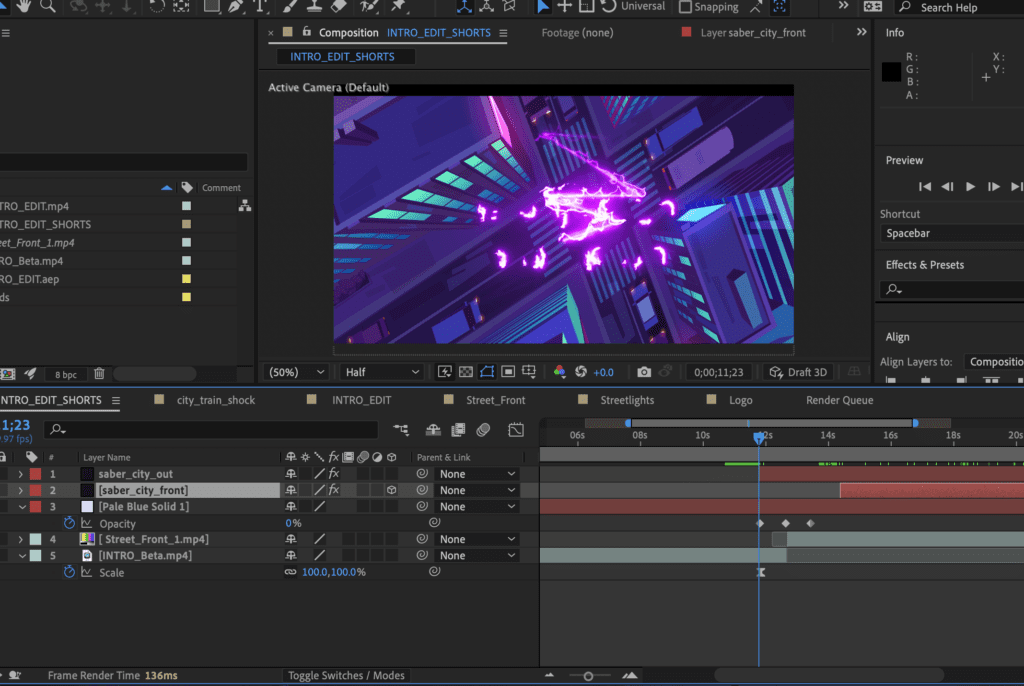

After the travel through the tunnel of light, the viewer comes into the city from the top flying though some parted clouds. To produce this effect, I placed some clouds in 3d space, and animated them to part as the camera moved into the city. After the clouds parted, I had the electric stroke reveal the first credit, and then travel around it to transition into the next scene.
The City
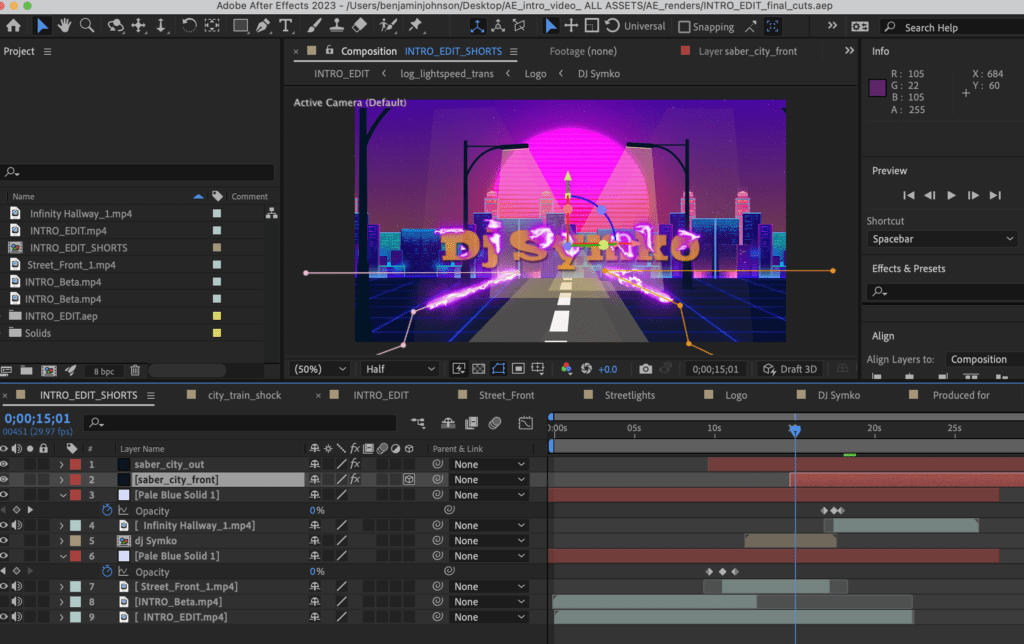

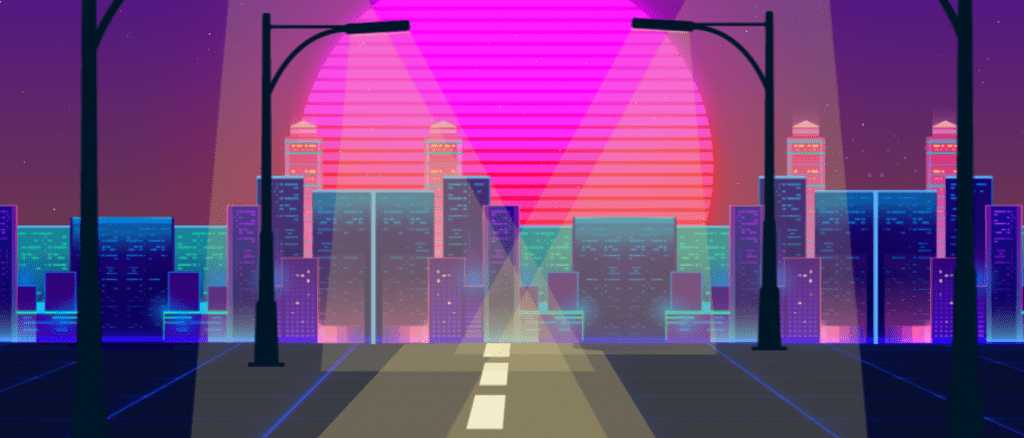
For the city, I had to create a grid and move its anchor point to give the illusion that the ground was moving. I place a vector graphic of some buildings in the back, and used the motion tile repeat effect to make the city expand infinitely off to the sides. I added some street lights and locked them to the moving grid to help enhance the idea of movement. As the lights came closer, I had the electricity come into the scene to reveal the second credit, but also make the lights turn on.
The Hallway
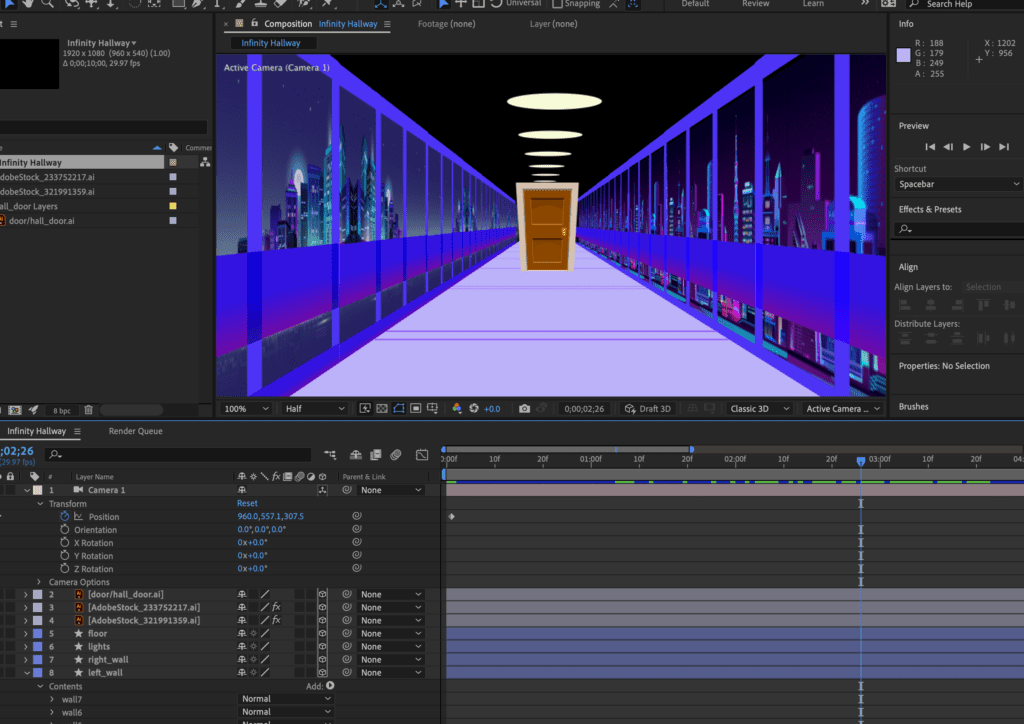

For the hallway, I created an infinity loop. I took flat images, and designed them to look like the floor, walls, and ceiling. I then put the panels into 3d space, and rotated them to their respective positions. After that, I duplicated the images to make them appear to stretch out indefinitely. I then took some vector graphics of cityscapes, and repeated the process to give the appearance of someone traveling down a hallway while the city passes by outside. I added a door to give the scene an ending, and looked that to the floor so it appeared to move forward. As with the other scenes I had the electricity come in and reveal the final credit, but also go around the door frame to signify the transition to the final scene.
The Title Card
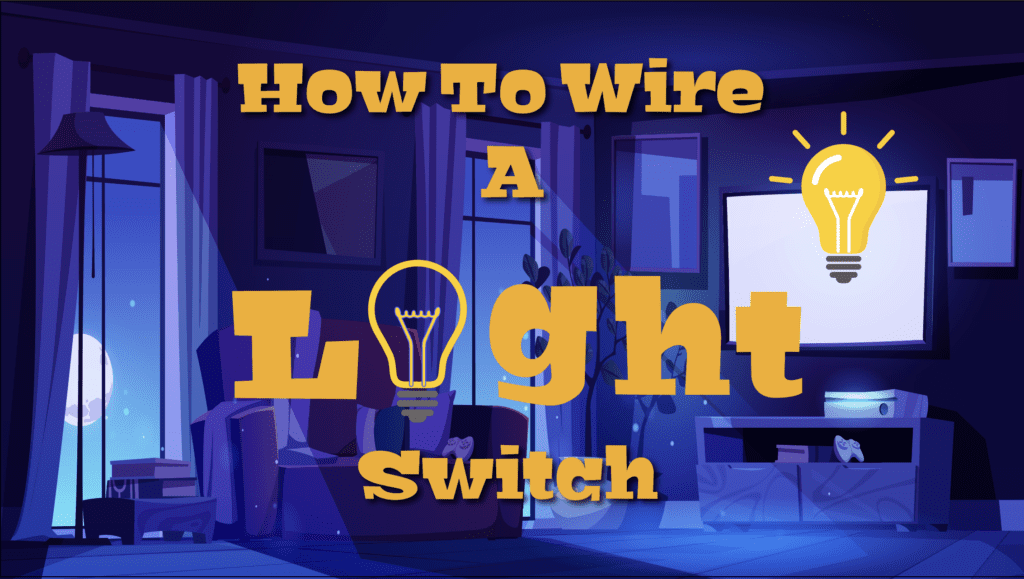

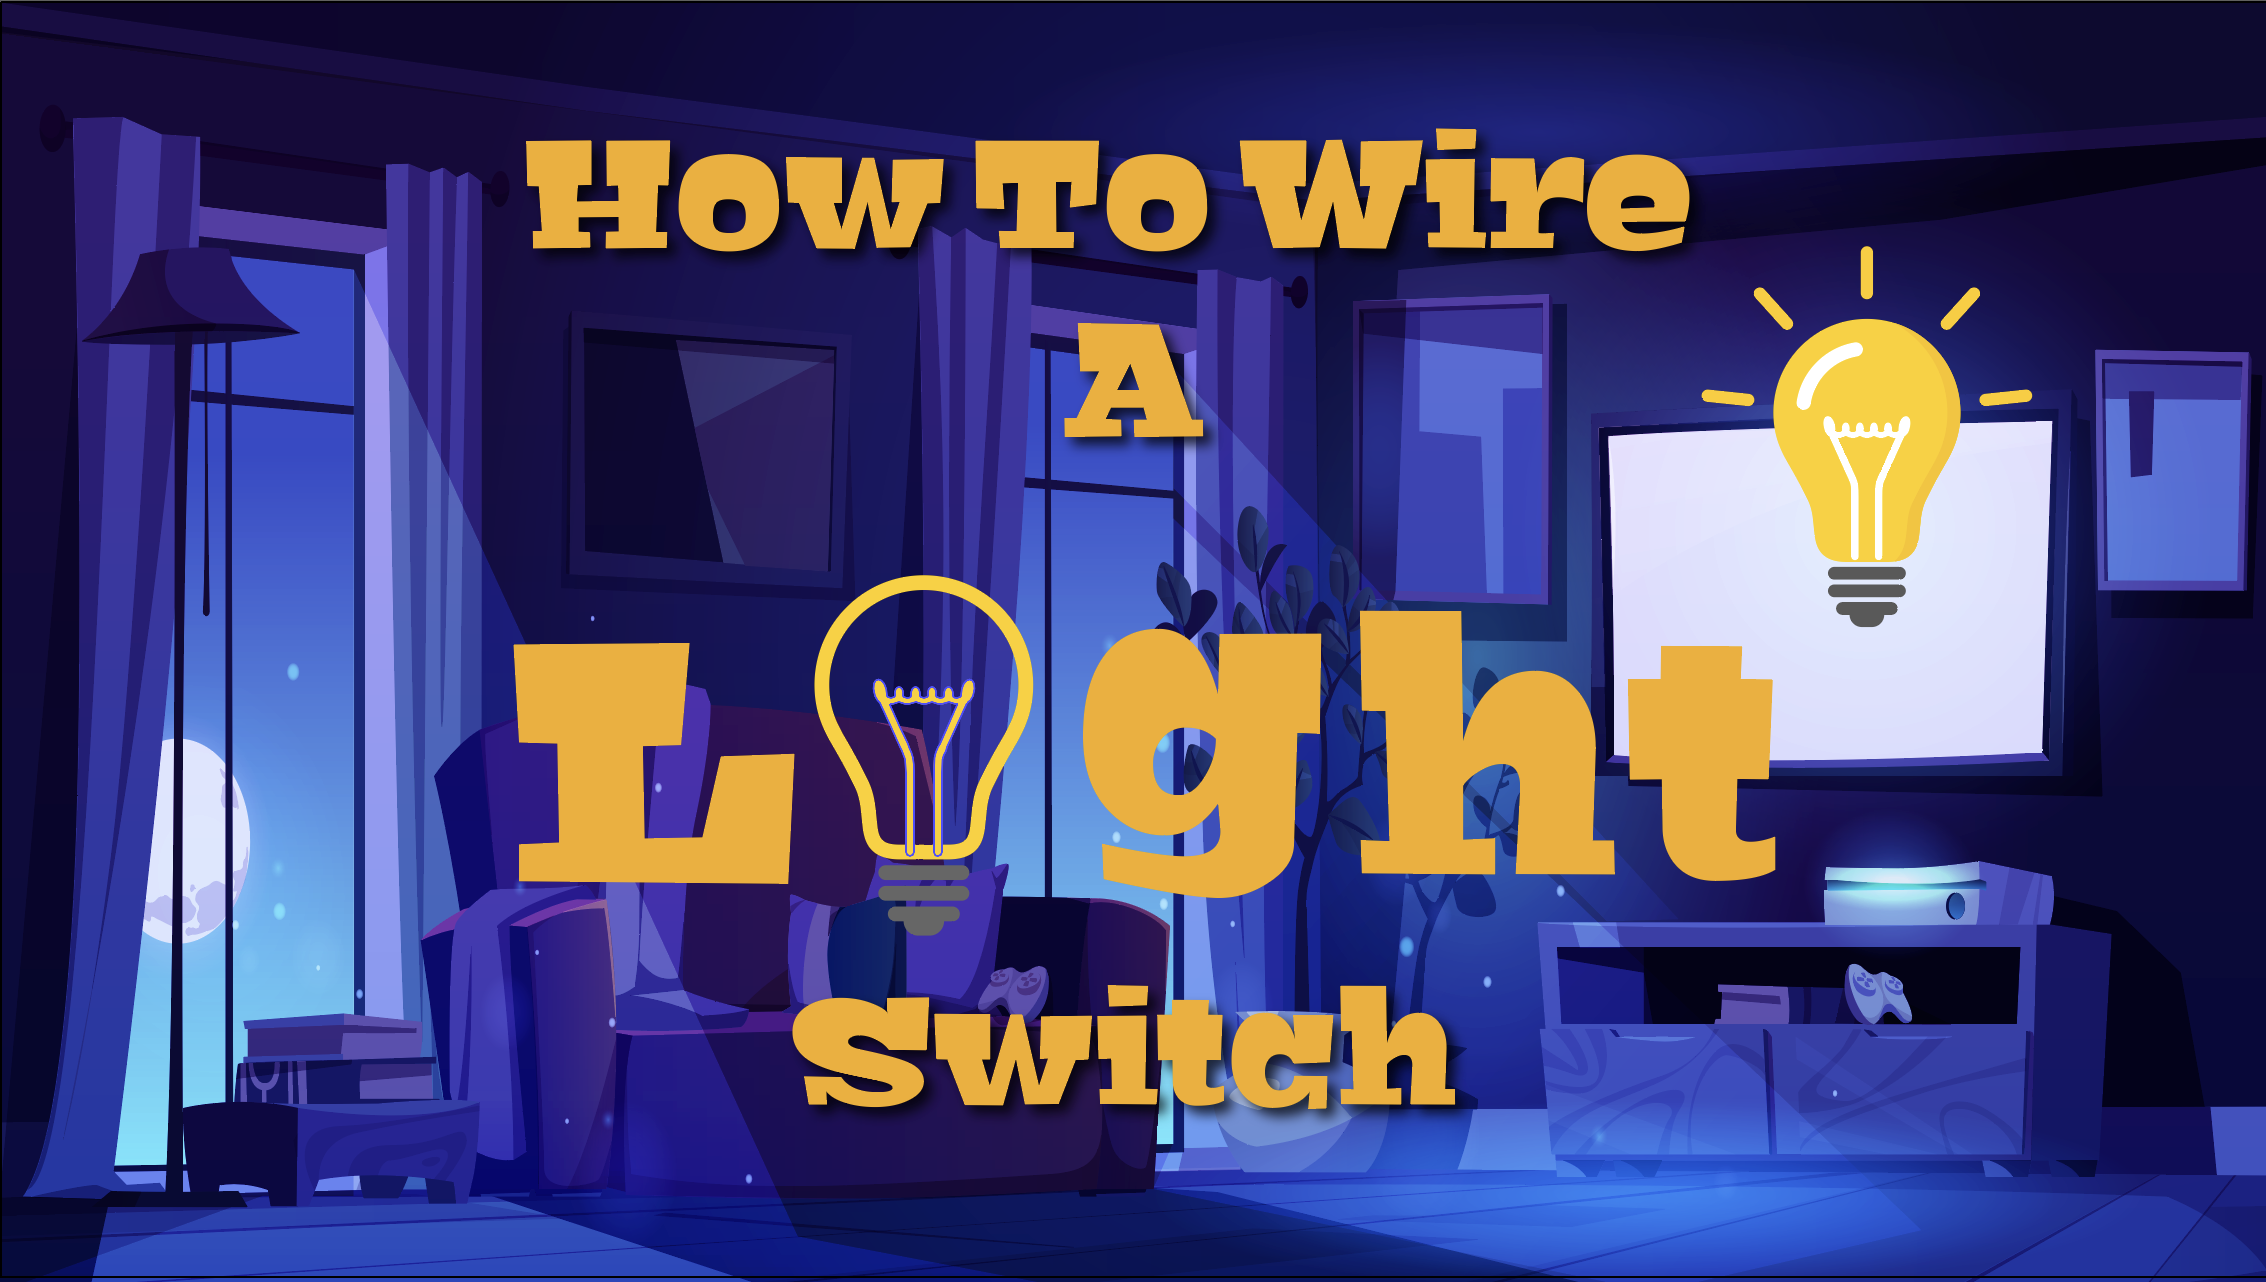
Now that the viewer has traveled in though space and all through the city to a mysterious electrified door, it was time to find out what we would be doing. I created a file in illustrator using the backdrop of the interior of an apartment. I the put some text in for the video title. In keeping with the theme, I electrified it and had it reveal the title of the video. I also added a light bulb which turns on after the title has been fully electrified.
The Result
Now that everything had been juiced out and glowing, I added some epic 80s music and sound effects to really sell that 80s vibe. Here are the final results. I hope you enjoy!
